A&A CORVETTE INSTRUCTIONS FOR THE SECONDARY BELT DRIVE SYSTEM

FITS C5 AND C6 CORVETTE
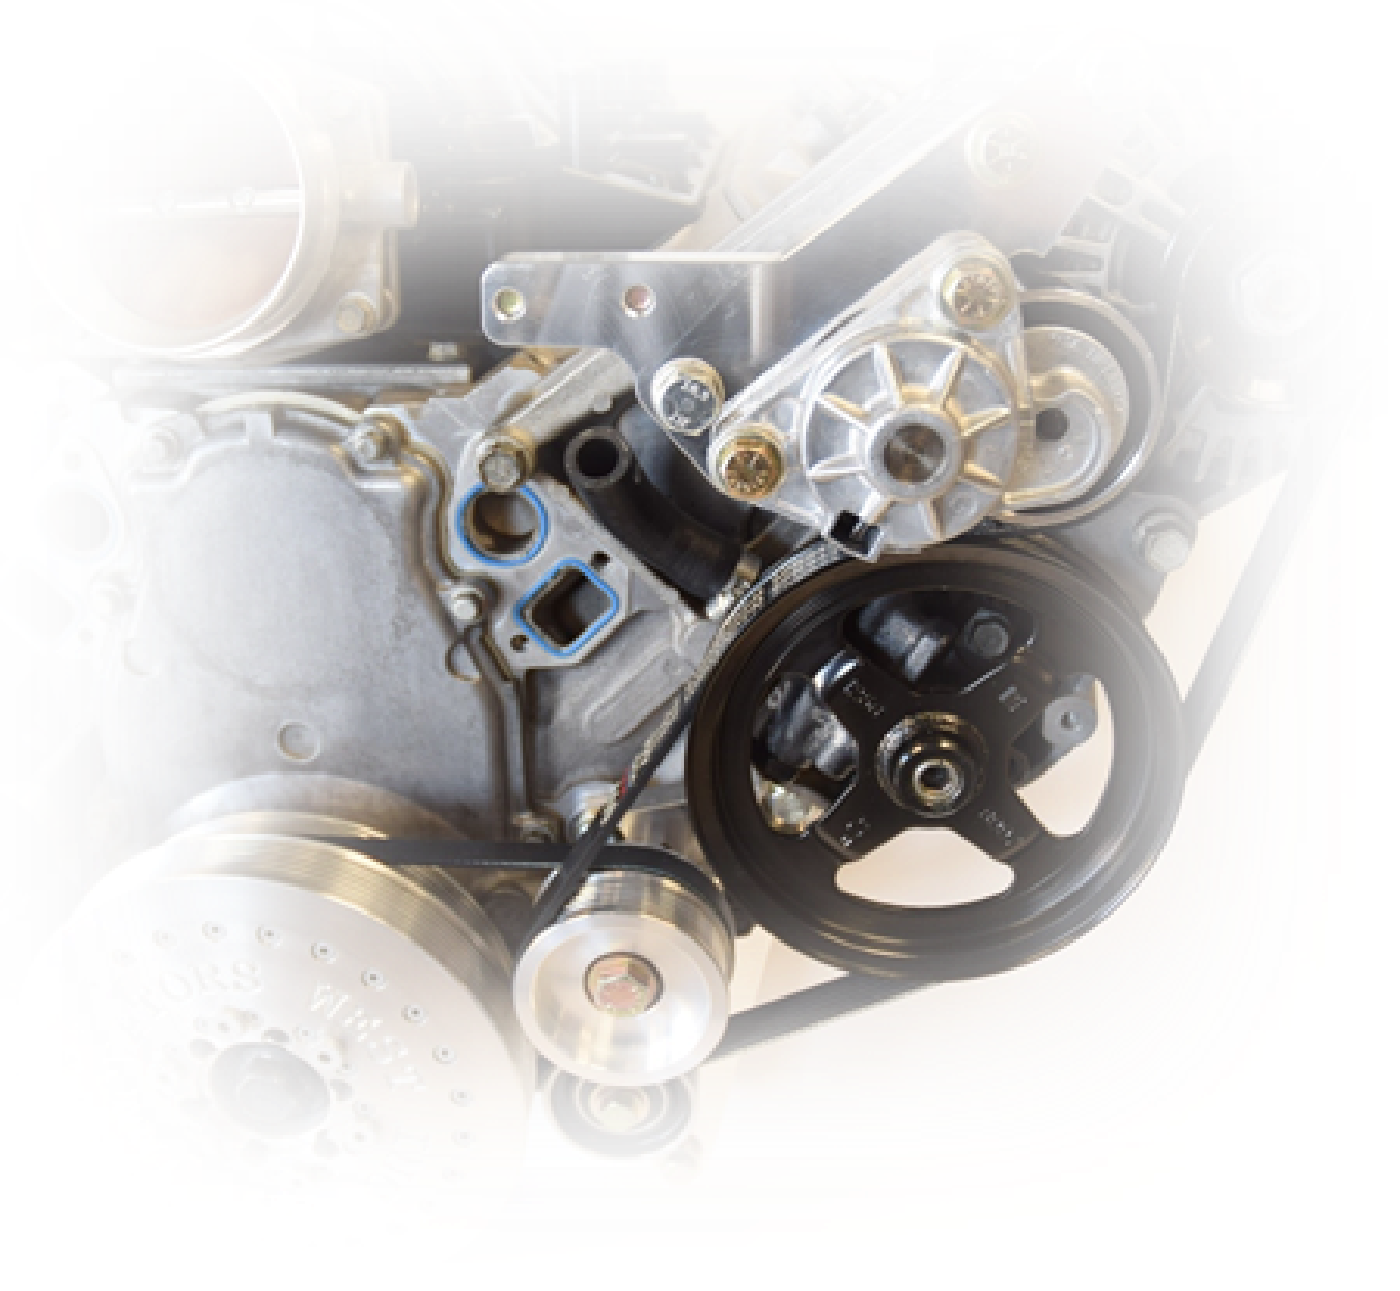
A&A Secondary Belt Drive System for C5 or C6 Corvette

A&A SECONDARY BELT DRIVE SYSTEM FOR C5 AND C6 CORVETTE

The A&A Secondary Drive is unique in that it does NOT drive the accessories via the air conditioning belt. The Secondary Drive shaft pulley is driven by its own dedicated belt. This allows full belt wrap around the crankshaft pulley as well as the accessory shaft pulley and the ability to tension this belt separately. This eliminates accessory belt slip that plagues other systems. Our system utilizes a spring tensioner on the alternator / power steering belt which allows proper belt wrap and tension.


This system MUST be used with our proprietary balancer. A stock balancer or a standard 8 rib balancer from ATI or Innovators West will not work.


The kit comes complete with our proprietary SFI spec balancer (10% overdrive), all belts, hoses, pulleys, tensioners and brackets needed.

Using our Secondary Drive allows the use of a much shorter belt to drive the supercharger which eliminates stretch and belt whip. This is the ultimate belt drive system for street driven C5 and C6 Corvettes as well as dedicated race cars without air conditioning.
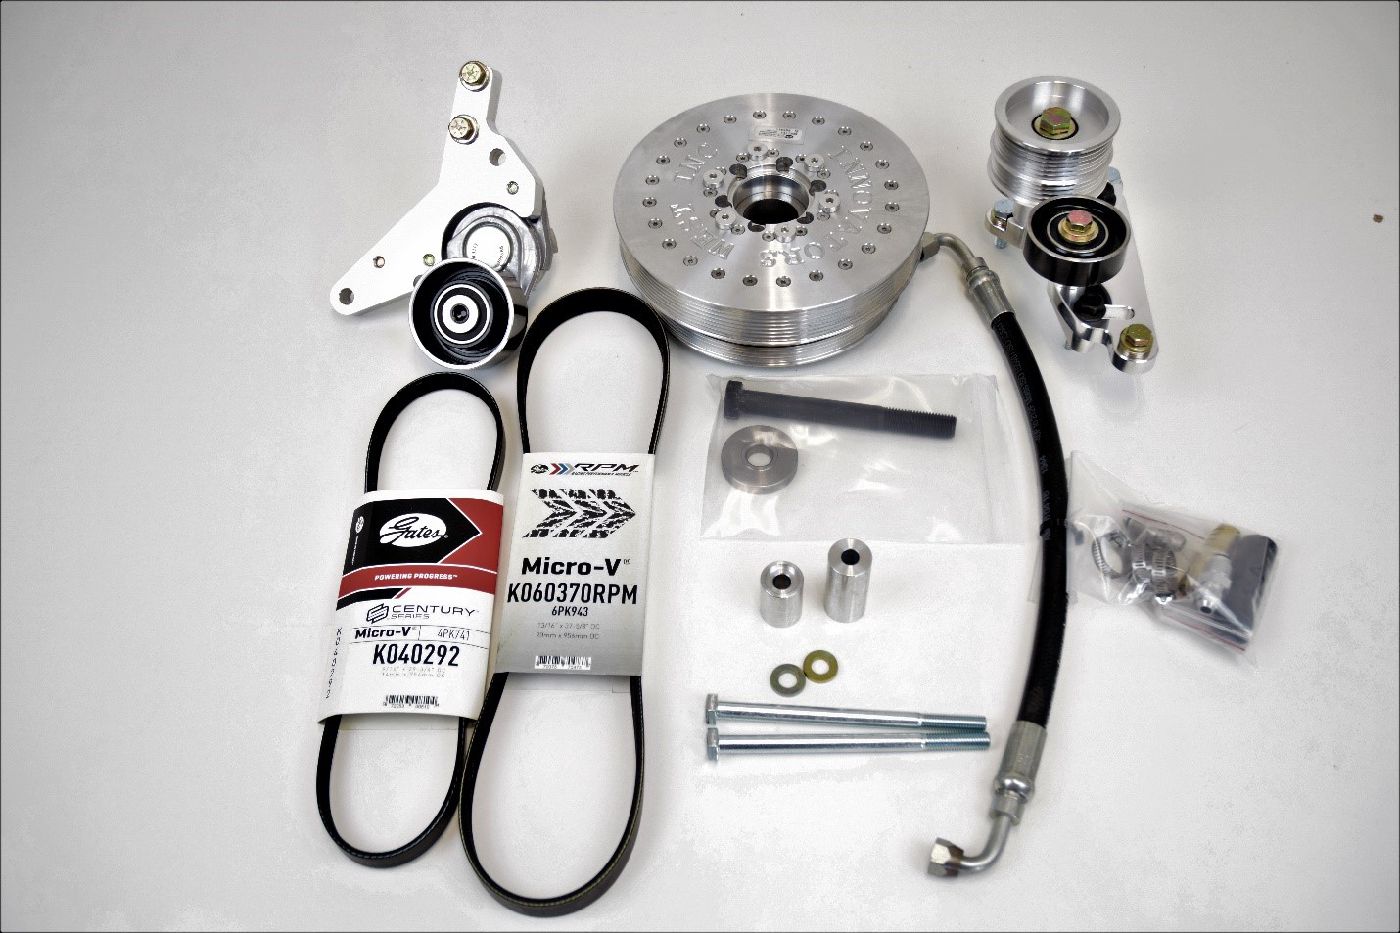
A&A SECONDARY BELT DRIVE SYSTEM FOR C5 AND C6 CORVETTE
INSTALLATION INSTRUCTIONS

  • Remove the stock balancer and power steering / alternator bracket. The power steering pulley will need to be pulled off with the appropriate puller to allow installation of our custom fitting and hose. If you have the plastic C5 pulley, we recommend replacing it with a steel C6 pulley which has access holes for the pump bolts. Modify the stock bracket by cutting off the section indicated by the black line. A bandsaw works best but any sort of saw or cutting tool will do. We can also supply the steel C6 pulley as well as a new bracket that has been properly modified with the kit.
  • Install our custom balancer with the proper installation tool. Pin the crank with our pin kit if your crankshaft does not have a key. NOTE: Our proprietary balancer is the ONLY balancer that is compatible with this drive system and is INCLUDED in the full kit.


  • Install the lower Secondary Drive plate using the provided M10 X 25 mm bolts and washers. The socket head bolt goes in the lower hole as shown. Torque to 35#. (Note: Some iron blocks only have two threaded holes. We have found that two bolts are adequate in this area.) Install the sliding tensioner bracket upper 10MM X 30MM bolt finger tight. Rotate it towards the crankshaft and check for interference with the corner of the timing cover. The corner may need to be relieved as shown. 


  • Now swing the bracket away from the balancer and tighten the upper bolt tight just enough to hold the bracket out of the way.

MOUNTING PLATE INSTALLED WITH SLIDING TENSIONER PLATE TIGHTENED JUST ENOUGH TO KEEP IT OUT OF THE WAY

  • To install the rear belt, loop the belt around the balancer and slip the Secondary Drive shaft pulley, bolt and spacer assembly inside the loop of the belt. Now just move the whole assembly up until it lines up with the upper ½” hole in the plate and run the bolt in. The pulley must be installed in this manner to get the belt on. You will not be able to slip the belt over the pulley once it’s bolted in place. For reference, the proper belt is Gates# K040292. Torque the ½” bolt to 45#.

WITH PULLEY AND SPACER INSIDE THE BELT- MOVE WHOLE ASSEMBLY TO LINE UP WITH ½” HOLE IN THE MOUNTING PLATE

  • Loosen the upper bolt on the sliding tensioner bracket a couple of turns. It needs to be slightly loose in order to slip the lower bolt under the pulley. Rotate the bracket towards the balancer until you can install the 10MM X 20MM hex bolt on the slot. Now tighten the upper bolt slightly. You can now move the bracket over with a 9/16 wrench to tighten the belt. It won’t take much movement. Tighten both 10MM bolts with a 15MM wrench. The lower belt is now done.


  • Test fit the modified alternator/power steering bracket to make sure it clears our lower Secondary Drive bracket. Remove more material as needed. Install the bracket, alternator and pump. Leave out the upper bracket bolt to the cylinder head. The upper alternator bolt will be removed later but should be installed loosely to keep the alternator lined up while the lower bolt is tightened.


  • Install our custom fittings in the power steering pump and steering rack. There are two fittings. The aluminum fitting goes in the pump and the steel one goes in the steering rack. The 90- degree end of the hose with the beveled fitting goes on the pump fitting. The corner is beveled to clear the pulley. Angle the hose slightly towards the engine. Install the power steering pulley and check for clearance between the pulley and hose fitting. Install the hose on the steering rack.


  • To install the 6-rib alternator belt you must loop the belt around the alternator, secondary shaft and the inboard side of the power steering pulley first. Pop it over the outboard side of the power steering pulley last. This is the only way to get the belt on. It will not slip over the alternator last. 


  • Insert one of the 10MM X 150MM (6”) bolt through the upper tensioner bracket along with the 1” X 2.16” spacer. This bolt will go through the alternator bracket into the cylinder head. Leave this bolt slightly loose (with approximately 1/8” slack in it). Swing the tensioner up and away from the belt. You’ll see another spacer that measures 1” X 1.14” with a recess machined in one end. The recess goes towards the motor and will fit over the bushing in the alternator bracket. The slack left in the first bolt will allow room for the spacer with the recess to clear the bushing in the alternator bracket. The tensioner bracket can now be rotated until you are able to insert the other long bolt through the upper alternator hole. Just push down firmly on the bracket with the palm of your hand or use a wrench on the extra 9/16” bolt head in the bracket and the tensioner will collapse into place. Tighten both bolts now.

ROTATE UPPER BRACKET AND TENSIONER INTO PLACE

  • The included power steering reservoir bracket is mounted to the upper tensioner as shown. The reservoir hose is extended using the supplied splice and hose. You may need to trim the hose that is supplied.

UPPER TENSIONER BRACKET WITH RESERVOIR MOUNTED

REAR VIEW OF RESERVOIR MOUNTING

SUPERIOR CUSTOMER SERVICE BEFORE AND AFTER THE SALE

We want you to have the best experience possible when dealing with us both before and after the sale. You can always talk to a sales manager, the owner and head designer, or one of our techs who is infinitely knowledgeable on how the products operate and are installed. You won’t get a minimum wage customer service rep that knows nothing outside his or her script. You’ll get great advice based on many years of experience every time.


We’re happy to help you with your DIY install questions or product inquiries even after hours. The phones forward to either a Manager or Owner to help with both. Remembering that we are on Pacific time, you can generally get help until 9PM on weekdays and weekends alike. It’s something we started when the company was very young and have found it to be an invaluable resource to our customers.


TERMS & CONDITIONS


WARRANTY INFORMATION


PRIVACY POLICY

SHARE THIS PAGE!